



-
-
-
Total payment:
-




How to Waterproof Plywood for Outdoor Use
Posted by Hoàng Anh Tuấn at 14/10/2026

How to Waterproof Plywood for Outdoor Use: A Step-by-Step Guide
Plywood is widely used for outdoor furniture, storage boxes, garden structures, signs, and construction projects. However, even exterior-grade plywood can deteriorate when exposed to rain and humidity for a long time.
Water usually enters through exposed edges, screw holes, joints, and damaged surface coatings. Once moisture reaches the wood veneers, the panel may swell, warp, develop mold, or begin to delaminate.
The good news is that plywood can perform well outdoors when the right panel is selected and every vulnerable area is properly sealed. This guide explains how to waterproof plywood for outdoor use, which materials work best, and which mistakes should be avoided.
Is Plywood Waterproof?
Standard plywood is not completely waterproof. Its performance depends on several factors:
- The type of adhesive used between the veneers
- The quality and species of the wood
- The condition of the panel edges
- The duration of moisture exposure
- The protective coating applied after installation
Some panels are manufactured with moisture-resistant or exterior-grade glue, but that does not mean the entire sheet can remain underwater indefinitely. The wood veneers can still absorb moisture if the surfaces and edges are left unprotected.
It is therefore important to understand the difference between water-resistant and waterproof plywood.
Water-resistant plywood can tolerate humidity, occasional splashes, or short periods of moisture exposure.
Waterproofed plywood has been protected with a coating or sealing system designed to prevent water from entering the panel.
Even marine plywood should normally be sealed when used in exposed outdoor applications. Its construction provides better resistance to moisture and delamination, but the wood itself can still absorb water.
Which Plywood Is Best for Outdoor Use?
Choosing the correct plywood is the first step. A surface coating cannot fully compensate for a low-quality panel with weak glue bonds or large internal gaps.
|
Plywood type |
Suitable applications |
Protection needed |
Limitations |
|
Exterior-grade plywood |
Outdoor furniture, signs, sheds, and garden structures |
Seal all faces, edges, cut areas, and fastener holes with a suitable exterior coating |
Exposed wood can still absorb moisture; regular maintenance is needed |
|
Boats, outdoor furniture, and projects exposed to frequent moisture |
Seal faces and edges; protect joints and fastener holes |
Moisture-resistant construction does not make the wood itself waterproof |
|
|
Concrete formwork, truck flooring, and working platforms |
Reseal cut edges and drilled holes; repair damaged film |
The film protects the faces, but exposed edges and damaged areas remain vulnerable |
|
|
Interior plywood |
Indoor furniture and dry, sheltered spaces |
Choose exterior-grade or marine plywood for rain-exposed applications |
Interior adhesive is not designed for prolonged outdoor moisture exposure |
Materials and Tools You Will Need
The exact materials depend on the project and expected level of exposure. A typical waterproofing job may require:
- Sandpaper in medium and fine grits
- A clean cloth or vacuum
- Wood filler suitable for exterior use
- Primer
- Exterior paint, polyurethane, epoxy, or wood sealer
- Paintbrush, foam roller, or spray equipment
- Edge sealer or epoxy resin
- Safety gloves, goggles, and a suitable mask
- Caulk or flexible sealant for joints and screw holes
Before choosing a product, check that it is suitable for wood and outdoor use. Also follow the manufacturer’s instructions for surface preparation, drying time, temperature, and the number of coats.
How to Waterproof Plywood for Outdoor Use
Step 1: Inspect the Plywood
Begin with a dry, undamaged sheet. Check the panel for:
- Cracks or open joints
- Delaminated veneers
- Soft or swollen areas
- Surface contamination
- Mold growth
- Damaged edges
Do not coat plywood while it is wet. Applying a waterproof layer over damp wood can trap moisture inside the panel and lead to blistering, mold, or premature coating failure.
If the sheet already shows fungal growth, treat the mold on plywood before applying any finish (Internal link:
Panels with extensive delamination or structural damage should be replaced rather than repaired.
Step 2: Cut and Drill Before Sealing
Complete as much cutting and drilling as possible before applying the waterproofing system. Every new cut exposes the inner veneers and creates another route for water to enter.
If the panel must be cut after coating, the newly exposed area will need to be sealed again.
When planning the project, allow enough space around joints for drainage and natural movement. Plywood continuously expands and contracts as environmental conditions change.
Step 3: Sand the Surface
Sand the faces and edges to remove rough fibers and create a clean, even surface for the coating.
Start with medium-grit sandpaper if the panel is rough, then finish with a finer grit. Avoid excessive sanding, particularly on thin face veneers, as this can damage the surface.
Remove all dust using a vacuum or clean, dry cloth. Dust left on the panel can reduce adhesion and create an uneven finish.
Step 4: Repair Gaps and Surface Defects
Fill small cracks, gaps, and damaged areas with an exterior-grade wood filler or compatible epoxy filler. Allow it to cure fully before sanding it level with the surrounding surface.
Pay particular attention to:
- Veneer overlaps
- Small openings along the edges
- Knots or surface splits
- Countersunk screw holes
- Joints between separate panels
The surface should be smooth, clean, and dry before the first coating is applied.
Step 5: Seal the Edges
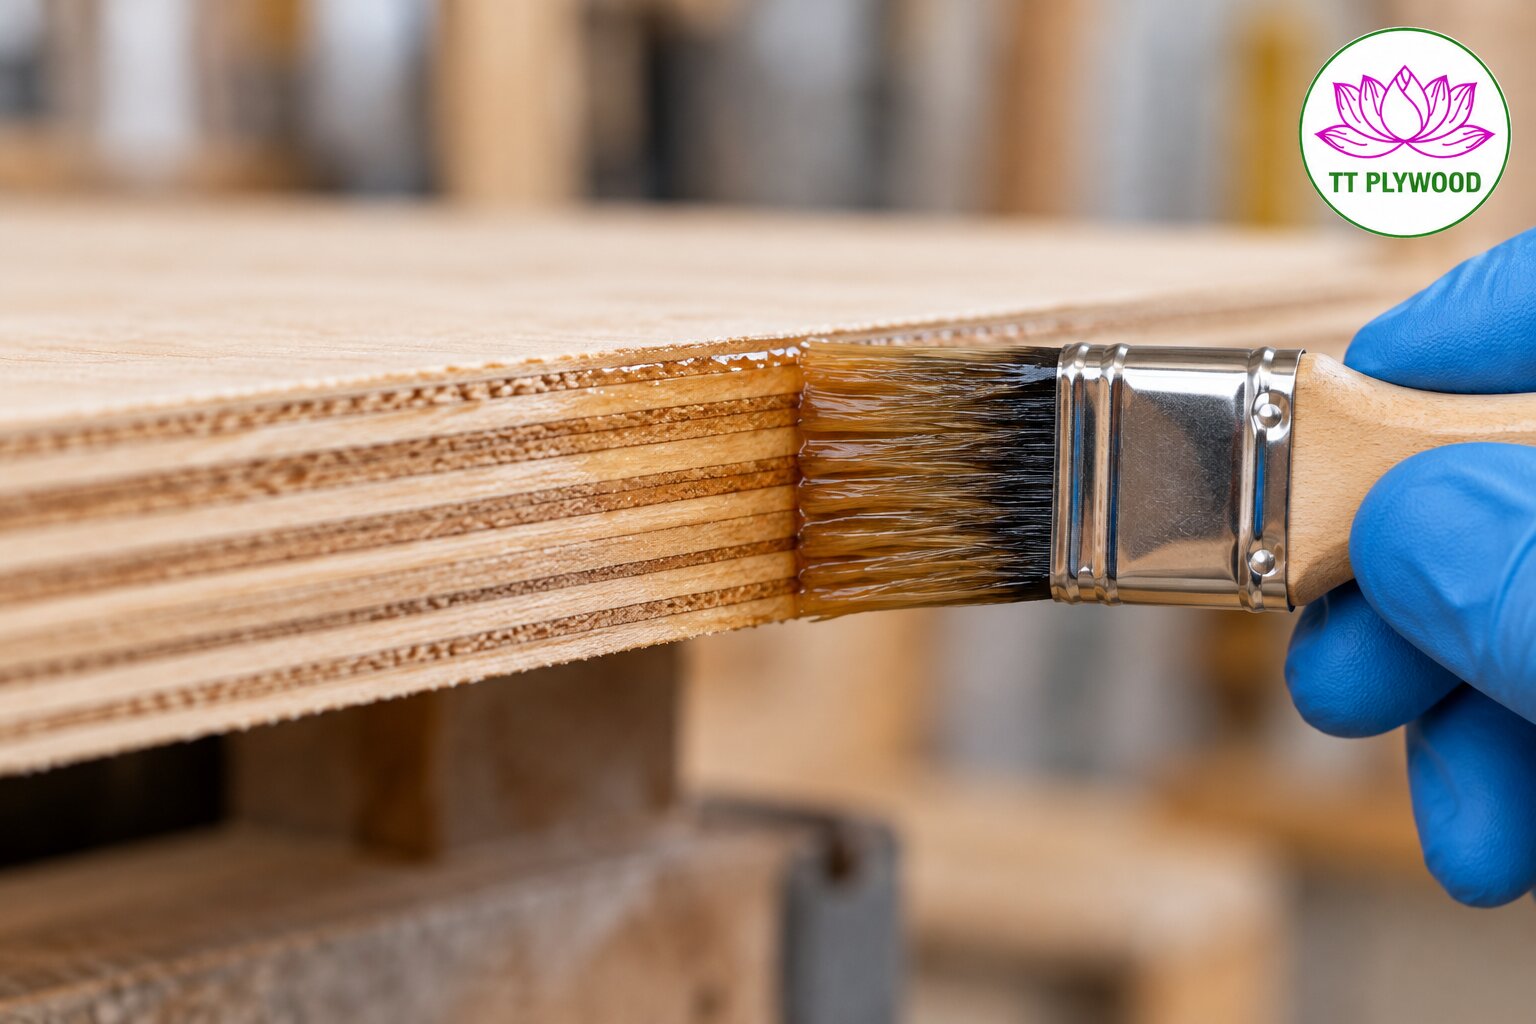
The edges are usually the most vulnerable parts of a plywood panel because the ends of several veneers are exposed at the same time. They can absorb water much faster than the face.
Apply edge sealer, epoxy resin, or another compatible waterproof coating to every exposed edge. Two or more thin coats are generally more effective than one heavy coat.
Allow each coat to dry as instructed by the manufacturer. Light sanding between coats may be required.
This step should not be skipped, even when using marine or film-faced plywood. Find out why it is important to protect the edges of plywood (Internal link:
Step 6: Apply the Waterproof Coating
Choose a finish based on the application and the appearance required.
|
Coating |
Best suited for |
Appearance |
Key consideration |
|
Exterior paint |
Outdoor furniture, signs, sheds, and projects requiring a coloured finish |
Opaque; covers the wood grain |
Use a compatible exterior primer and topcoats; protect every face and edge |
|
Exterior polyurethane |
Outdoor projects where the natural wood appearance matters |
Clear or tinted; keeps the grain visible |
Choose a product rated for outdoor use and apply the recommended number of thin coats |
|
Epoxy resin |
Edges, joints, repairs, and projects requiring a strong moisture barrier |
Usually clear; may darken the wood slightly |
Many epoxy systems need a compatible UV-resistant topcoat when exposed to sunlight |
|
Penetrating wood sealer |
Some garden furniture and decorative outdoor projects |
Usually retains a natural look; varies by product |
Easy to renew, but protection varies and may be lower than a complete epoxy or paint system |
Step 7: Protect Screw Holes and Joints
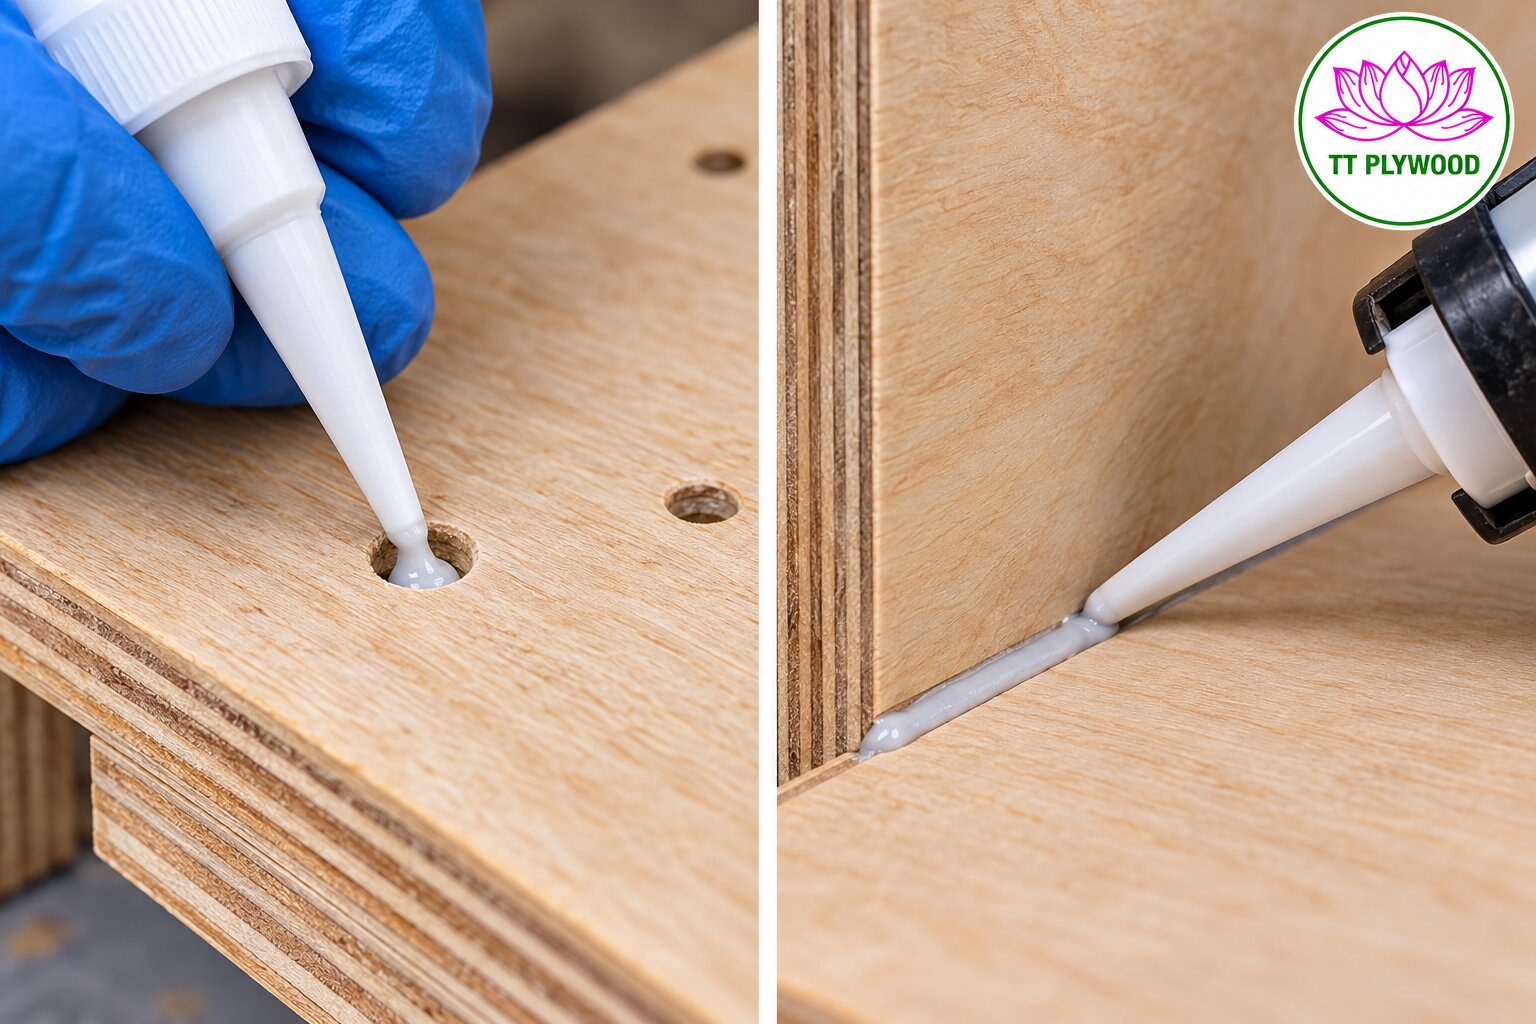
A waterproof surface can still fail if water enters through fasteners and joints.
Before inserting screws, apply a compatible sealant inside the pilot holes. Seal around the screw heads after installation, especially on horizontal surfaces where water may collect.
Use exterior-grade caulk or flexible sealant at panel joints. A flexible product is helpful because wood movement may cause a rigid filler to crack.
Avoid placing screws too close to panel edges, as this can split the veneers and create new paths for moisture.
Step 8: Allow the Coating to Cure
Drying and curing are not always the same process. A coating may feel dry to the touch while remaining soft underneath.
Keep the plywood away from rain, dust, and heavy use until the system has cured according to the product instructions. Installing or stacking coated panels too early may damage the finish.
Common Mistakes
Several mistakes can shorten the service life of outdoor plywood.
|
Mistake |
Why it causes problems |
What to do instead |
|
Sealing only the front face |
Water can enter through the back, edges, joints, and screw holes |
Protect all faces, edges, and installation details |
|
Applying one heavy coat |
Thick coatings may dry unevenly, drip, or trap solvents |
Apply multiple thin coats as instructed by the manufacturer |
|
Coating wet plywood |
Trapped moisture can cause blistering, mold, and coating failure |
Let the panel dry before applying the coating |
|
Ignoring cut edges |
Cutting exposes inner veneers that can absorb moisture |
Reseal every new cut edge and drilled hole |
|
Using interior products outdoors |
Products intended for indoor use may fail under rain, sunlight, and temperature changes |
Use coatings, fillers, and sealants rated for exterior applications |
|
Allowing water to remain on the surface |
Standing water increases moisture exposure and stresses the protective coating |
Provide drainage, slope horizontal surfaces where practical, and avoid water-trapping joints |
How to Maintain Waterproofed Plywood
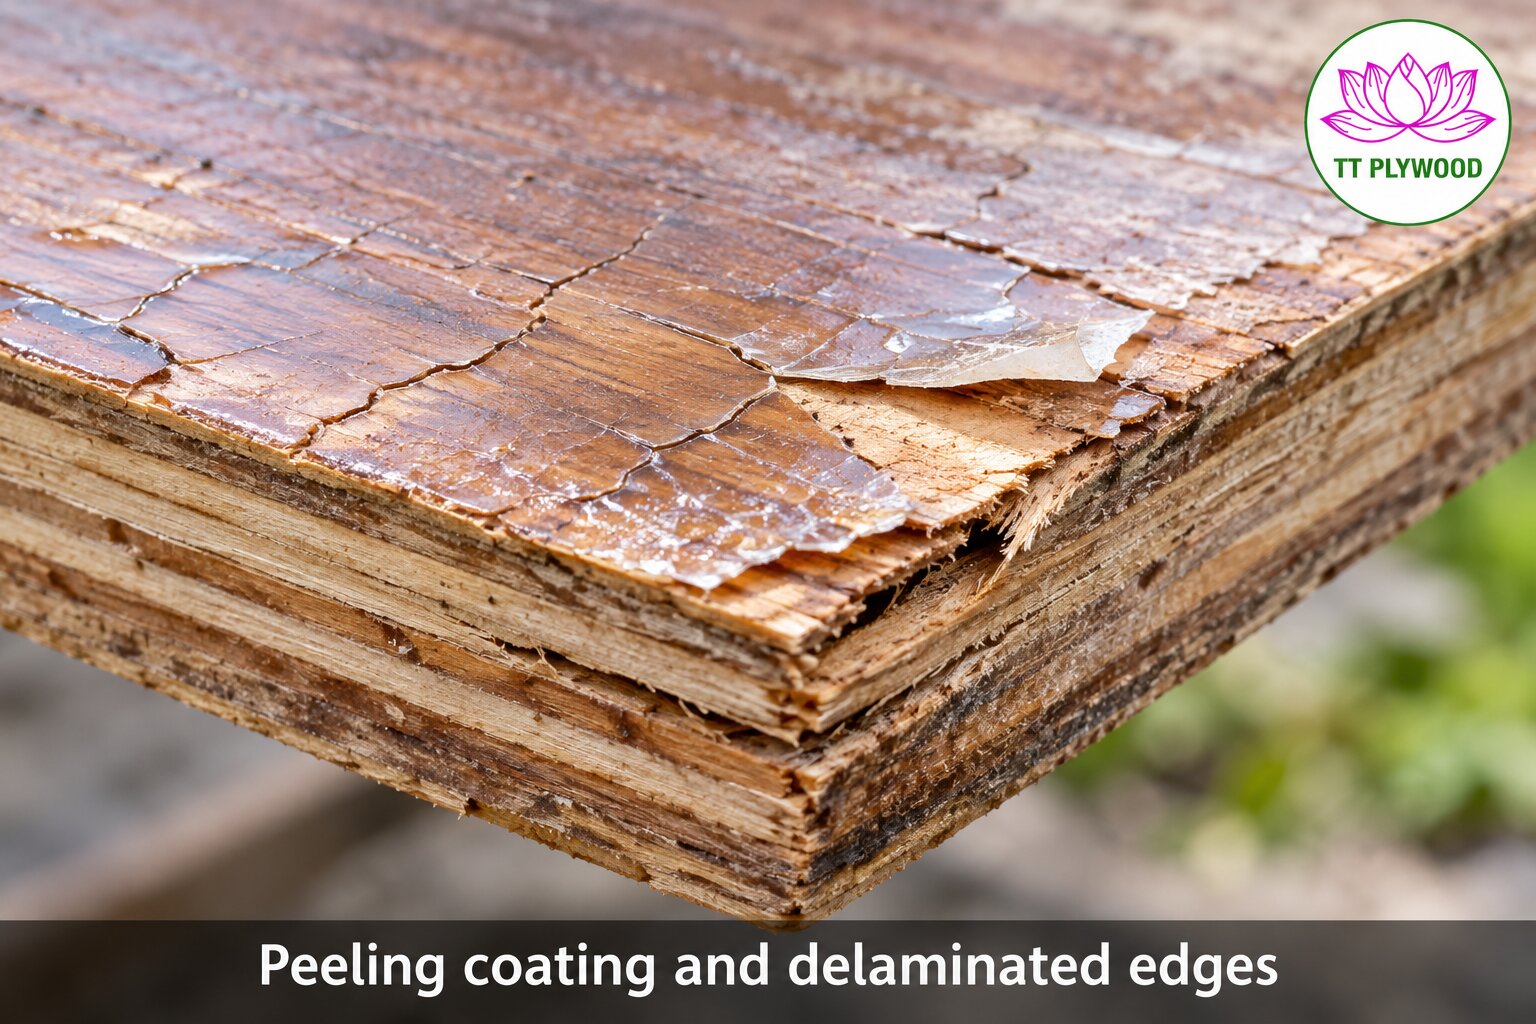
Inspect outdoor plywood at least once or twice a year, as well as after periods of severe weather.
Look for:
- Cracks or peeling in the coating
- Exposed wood at corners and edges
- Loose screws
- Failed sealant around joints
- Swelling or dark stains
- Mold or persistent moisture
Clean the surface gently and repair damaged areas before water reaches the veneers. High-pressure washing should be avoided because it can force water into joints and weakened coatings.
Storage also affects panel condition before installation. Review our recommendations for storing plywood on site
Can Plywood Be Left Outside Permanently?
Plywood can be used outdoors for extended periods when the correct grade, coating system, construction design, and maintenance schedule are combined.
However, no coating should be treated as permanent. Sunlight, rain, abrasion, and natural wood movement gradually reduce its effectiveness. Areas that remain underwater or in constant contact with wet soil require materials specifically designed for those conditions.
For long-term outdoor performance:
- Use exterior-grade or marine plywood
- Seal all faces and edges
- Protect holes, fasteners, and joints
- Prevent standing water
- Keep panels away from direct ground contact
- Inspect and renew the coating when necessary
Frequently Asked Questions
What is the best way to waterproof plywood?
For general outdoor projects, a complete system consisting of primer and exterior paint is practical and easy to maintain. Epoxy provides a stronger moisture barrier for more demanding conditions, but it may require a UV-resistant topcoat.
Does marine plywood need to be sealed?
Yes. Marine plywood has moisture-resistant adhesive and higher-quality construction, but its wood veneers can still absorb water through exposed faces and edges.
Can ordinary plywood be waterproofed for outdoor use?
A coating can improve the moisture resistance of ordinary plywood, but it cannot change the quality of the internal adhesive. Exterior or marine plywood is a safer choice for long-term outdoor exposure.
How many coats should be applied?
The required number depends on the product. Most systems require at least two finish coats, while exposed edges may need additional applications. Always follow the coating manufacturer’s instructions.
Conclusion
Successful plywood waterproofing begins with choosing the right panel. Exterior-grade, marine, and film-faced plywood provide a better foundation than interior plywood, but each still requires protection in exposed applications.
Prepare the panel carefully, seal every edge, protect fastener holes and joints, and apply a coating suitable for outdoor conditions. Regular inspection and timely repairs will help prevent swelling, mold, warping, and delamination.
TT Plywood supplies plywood products for construction, furniture, packaging, and industrial applications. Explore our available plywood products or contact our team to discuss the specifications required for your market and application.
Reference
APA – The Engineered Wood Association. (2017). Moisture exposure recommendations for wood structural panels(Technical Topic TT-002). https://www.apawood.org/guides-tools-training/technical-document-library/technical-topics/moisture-exposure-recommendations-for-wood-structural-panels/
WEST SYSTEM. (n.d.-a). Barrier coating. https://eu.westsystem.com/instruction/epoxy-basics/barrier-coating/
WEST SYSTEM. (n.d.-b). Finish coatings. https://www.westsystem.com/instruction/epoxy-basics/finish-coatings/
WEST SYSTEM. (n.d.-c). Surface preparation. https://www.westsystem.com/instruction/epoxy-basics/surface-preparation/


